Posted on

Getting Kids into the Clean Plate Club

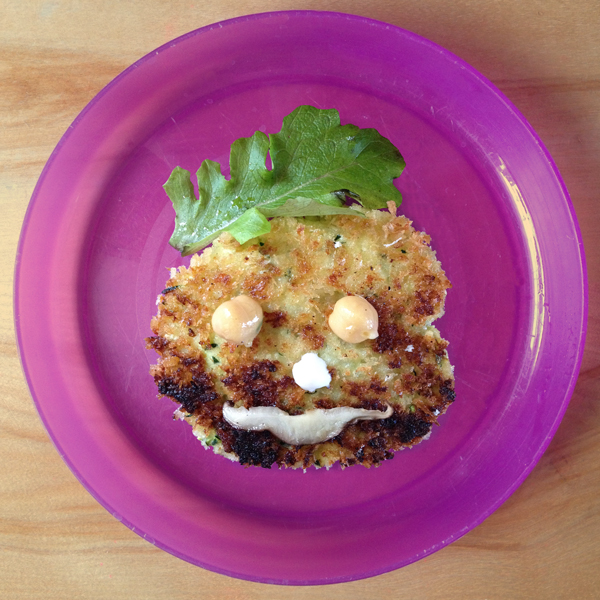
Yes, actually, turning the food into a smiley face works sometimes!

For a little more than a year, my family has hardly eaten a dinner that wasn’t for a reason: recipe testing, retesting, testing a different cook method, finding a replacement meal for the one I originally planned, needing a photo of a dinner, needing to use up remnant ingredients, etc.

I gotta say, my kids are awesome. I am basically writing this simply to commend them. At the writing of this post, they are 14 months, 3 years and 4-1/2 years old. For the first two-thirds of this journey, I swear they were never served the same meal twice. Poor kids, all they wanted was a hot dog. Instead they were my unwitting world-travelers and culinary adventurers.

Without starting Homegrown Foods, I would have cooked dinner from scratch any way. But probably more like three meals per night and we probably would have rotated in our favorites more frequently. I’d like to style myself an expert on the topic now, here is my list of top moves:

1. Smiley face. I must admit, for my young children, turning the food on their plate into a smiley face actually does work to get them to try new foods.

2. Food equality for all. We treat all foods as equals—to be as excited about vegetables as chocolate chip cookies. Don’t make it sound like a punishment to eat vegetables, or a threat of no dessert if they don’t.

3. Bribery. When they absolutely refuse to try something new I am not above bribing them: “I’ll give you an M&M if you take a bite of this.” The goal is to get them to try new foods so they get used to the flavors. If I can avoid a dinner stand-off and get the food in their mouth for the mere price of an M&M, so be it. More often than not, they realize that there isn’t anything to be afraid of on their plate (and, if I may say so myself, they learn that their mom is a rock-star who cooks fabulous food!).

4. Grouping vs Combining. Deconstructed dinners often have more success than a fully plated dinner. (Surprise, surprise, kids will not eat something if a food they don’t like isn’t touching it.) On the opposite end of the spectrum, if there are a bunch of ingredients they are not used to they are more likely to eat it if the pieces are super tiny or puréed.

5. Give them the whole dinner. I always put everything on their plates, even when they screech that they don’t like it. I want them to get used to the look, smell, and hopefully taste of all the food we eat. They don’t have to eat it, but they have to look at it.

I don’t pretend to have the answers to kids eating wholesome foods. I try to remind myself that they probably won’t eat like we do until they are 25 years old. But I will say, I am amazed at the way my kids eat today. Last week, I tried a recipe from a new cookbook and I warned them, “Everything in this dinner is new. There is nothing on your plate you will have tasted before. You may like all of it, some of it, or none of it but I expect you to try it.” It was chicken stewed in a coconut-lime broth hotly spiced with curry paste along with a plantain-sweet potato mash seasoned with turmeric, and curried chickpea rosti (like thick, dense pancakes). My kitchen smelled like a foreign city. These were all new flavors and some new textures, and the kids were incredibly good sports and tried all of it, and each enjoyed different components of that meal.

Don’t get me wrong. My 14 month old still earnestly picks up every food from his tray that he doesn’t want to eat and deliberately drops it, watching it as it goes overboard and plunks to the floor. He is probably my pickiest eater but has no system to speak of it. One day that food is “in,” the next it hits the floor. My 3 year old periodically reminds me, “I don’t like butter!” (he actually does, he just likes to say that) if I deign to mention that butter was involved in the cooking process.

The other night I made miso-marinated black cod with seaweed salad and black rice. While delicious, none of it was a hit with the kids. Though, I was so impressed that my daughter actually grabbed a handful of the seaweed salad and popped it right into her mouth (then saying, “Mmm, this is good but I don’t really want any more.”) After a certain amount of effort, my husband and I got the kids to try everything.

They still didn’t like it so I said, “How about some hot dogs, guys?”

[fblike][fbshare][twitter][twitter_follow username=”eatgoodathome”]
Posted on

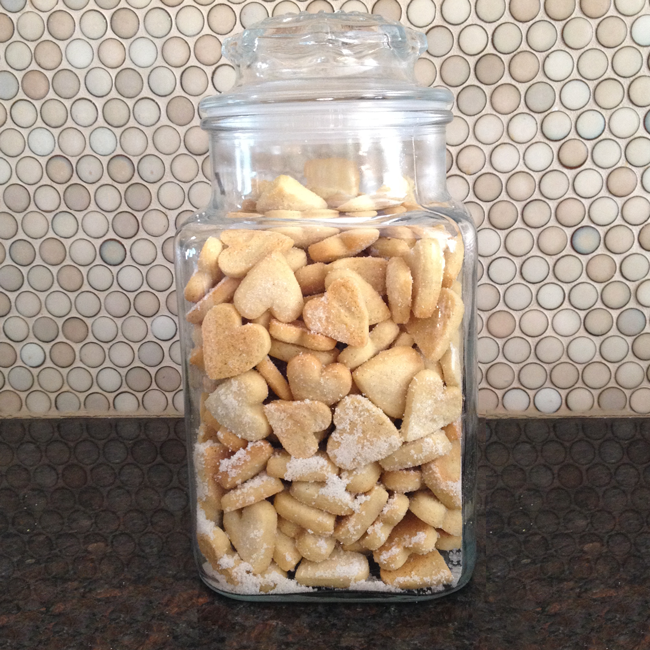
Triple Vanilla Sugar Cookies

‘Tis the holiday season and everyone who plans on making Christmas cookies (including me) is searching for cookie recipes that will impress. Sometimes it’s about putting a twist on a good thing, and sometimes it’s just about making a good thing better. You know, like amping up the special.

This recipe is not necessarily a twist on a classic. Rather a long pause — like making the dough on Wednesday and baking the cookies on Saturday. Or just a technical improvement — like rolling out the dough just after mixing, and letting it refrigerate in a thin sheet, which makes it easier to cut and helps keeps their shape.  What you will get is vanilla-packed flavor with easy cookie-cutter precision.

The trick to these rolled sugar cookies is to barely mix the dough to prevent spreading (no fluffing the butter and sugar!). Also, you will make your own vanilla sugar for coating the cookies and refrigerate the dough for a couple days so the vanilla bean aroma can thoroughly infuse the dough.


Triple Vanilla Sugar Cookies

1 cup sugar
1 cup butter (2 sticks), softened
1 teaspoon baking soda
2 eggs
2 vanilla beans
1 tablespoon vanilla extract
1 teaspoon almond extract
3 cups flour
1 additional cup sugar*
1 container with air-tight lid

[divider]

Blend butter and sugar until just mixed. On medium-low speed, mix butter and sugar until just combined, about 30 seconds.

Mix remaining ingredients. Carefully slit the vanilla beans and scrape the seeds into the mixing bowl, reserving the pods. Add the baking soda, eggs, vanilla extract and almond extract. Mix until just blended, about 3 minutes. Then, 1 cup at a time, add the flour until completely mixed.

Roll out dough and refrigerate up to 4 days. Line a baking sheet with parchment paper. Gather the dough into a ball and set onto a lightly floured surface. Using a floured rolling pin, roll out the dough 1/8- to 1/4-inch thick. Transfer dough to baking sheet, cover in plastic and store in refrigerator.

Make vanilla sugar. Pour about a cup of sugar into a jar or container. Add reserved vanilla beans. Seal and store until ready to use. (Shake periodically.)
*You can make colored sugar by adding a couple drops of food coloring. Or if you plan on frosting the cookies, use powdered sugar.

Preheat oven to 350° F then bake. Line another baking sheet with parchment paper. Use the cutter of your choice to make shapes. Transfer cookies to baking sheet and sprinkle with vanilla sugar. Bake for 10–12 minutes, until edges are light brown.

P.S. Make sure there isn’t anything strong-smelling in the fridge, like bowls of chopped onions.

Makes about 3 dozen standard-size cookies, or 8 dozen mini cookies.
[divider]

[fblike][fbshare][twitter source=”EatGoodAtHome”][twitter_follow username=”EatGoodAtHome”]

Posted on

Cooking with (Small) Kids is Crazy

Cooking with Small Kids is Crazy
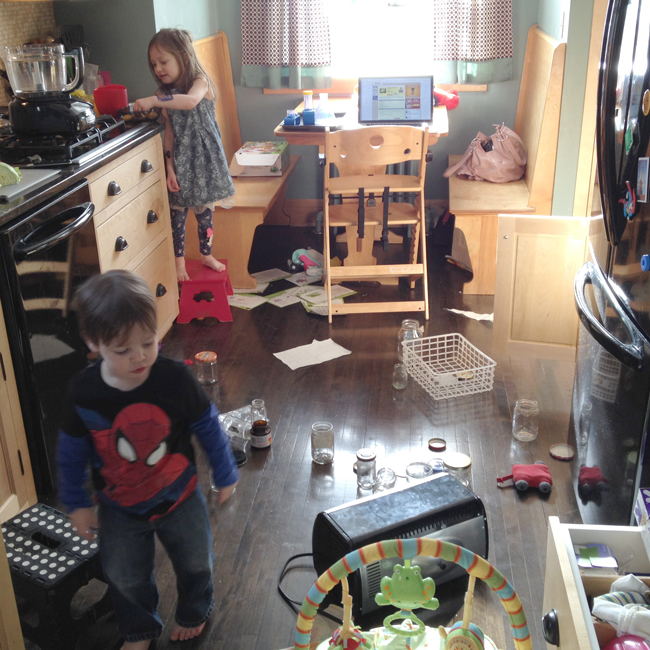
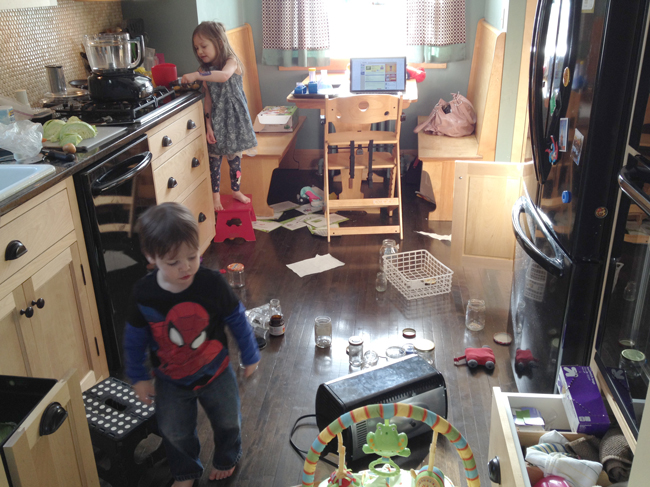
Kids in the kitchen while making a five-piece chicken dinner.
My working conditions while making a five-piece chicken dinner.

This is the truth about cooking with kids: it is a pain in the butt. Despite lofty articles about letting the kids help or making dinner in 15 minutes or less, the reality is that cooking involves sharp objects, hot things and critical timing. And nothing takes 15 minutes when young’uns are around. Kids aren’t known for their attention spans, awareness, listening, or neatness. Combine it all and it’s easy to see how the stress levels ratchet up when you are trying to get dinner on the table.

I love my kids and have loved cooking my whole life. But I do not love cooking with kids… It’s crazy!

Granted I have a lot of patience, but staying undistracted through constant interruptions, staving Pavlovian responses to the open refrigerator or pantry door, or working around projects that sprout from mimicking imaginations…the challenges surmount. And when I actually am enlisting their help, their hair is everywhere, they stick their fingers in the bowl (I think they like “helping” just so they can lick things), and they make messes. And they don’t listen. Man, how they don’t listen! I find myself repeating instructions with rapid succession and increasing volume as we nearly avoid imminent disasters.

Why do we put up with it? We press on because we know that our mothers and their mothers did*, as did generations before them. Heck, people had even more kids then.

Plus there really isn’t much choice besides figuring it out. Especially if you have to get dinner on the table solo. The urge to give in to frozen dinners comes now and then, but I believe too strongly in home-cooked dinner to cave in. Plus some days are better than others. My consolation is that I hope one day my kids will cook. I don’t shoo them from the kitchen because I like that they are creating. It is music to my ears to hear my kids ask, “How do you make that, Mommy?” or declare (as they are packing toys in the salad spinner) that they are making ice cream.

I also get satisfaction from their unbiased love of food from all walks of life, whether sweet or spicy, fresh or fried. My daughter has a new thrill, which is begging me for real ingredients. I protest, because I hate to see food wasted. But she is SO HAPPY to be playing and making Apples Sandwiches, Mushy-Mushy-Banana Pie or Squishy Grape Treats.

[divider_flat]

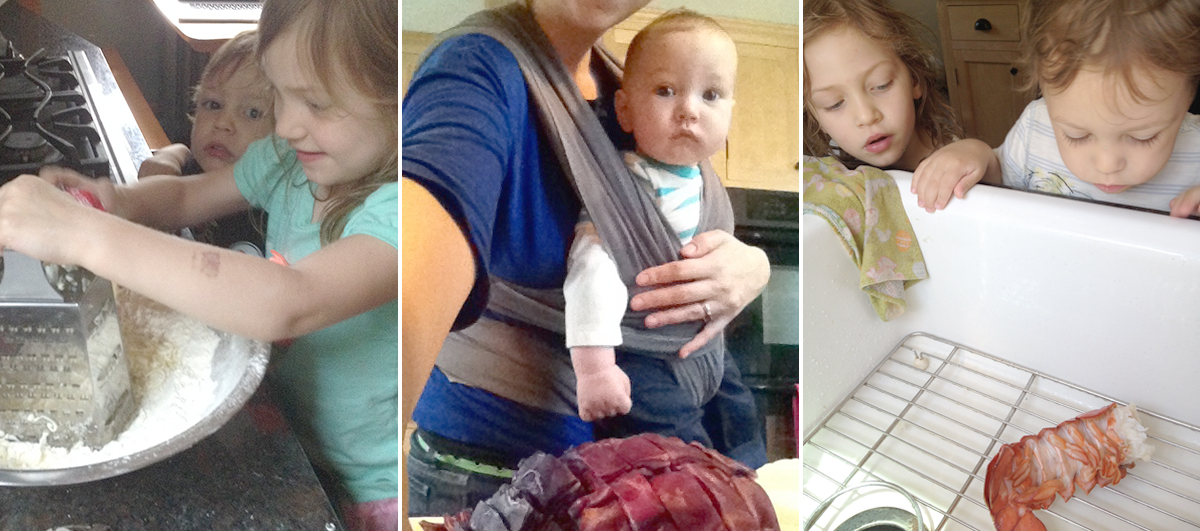
Learning about whole foods from an early age.

[divider_flat]
So now, after five years and three kids, I consider myself experienced enough to give advice on how to survive the early years with your kitchen skills intact.

[divider_flat]
[twocol_one]

Advice for cooking with kids:

Expect it to be hard. It just is. Unless you are making pizza, anything you make for dinner is going to require time at the stove (including boxed dinners, which we are trying to avoid anyway). It is difficult to keep hungry kids at bay while they beg for a snack. Perhaps there are toys or babies on the floor, never mind competing for utensils with tiny scientists, the list goes on.

Prep ahead. I am the last person who wants to give up my time when the kids are out of my hair, but sometimes just having the cutting board and vegetables out, I can chop a thing here and there and save myself 10 minutes during dinner crunch(crash?)-time.

Know it will take longer. Yes, you could probably work on three things at the same time when you had time to think straight. But now, in the midst of chaos, you probably can only focus on one. So don’t beat yourself up when things go off schedule. Doing as many steps as you can in advance really does help, but may mean starting a day or more ahead.

Make two. Double the recipe for more involved dishes (soup, lasagne, sauces, etc.) and freeze half, so you can have an easy dinner another night. If you can, change up the fillings (chicken vs. sausage, cheese vs. spinach) or key ingredients so you don’t have to eat the same thing twice.
[/twocol_one][twocol_one_last]

Advice for feeding kids:

Don’t give in to bland and boring. It can be irritating when the kids don’t eat something I struggled to get on the table. Though I get to be smug when they don’t eat any more of the grilled cheese I make the following night. They simply aren’t that hungry. Don’t squash the opportunity for them to love new foods by deliberately avoiding them.

Ignore picky eating. Most kids will grow up to eat like their parents, so it doesn’t make sense to cement in their brains that they “always love” one food or “won’t eat” another. If not today, maybe they will learn to like it later. I always stick everything on my kids’ plates. They don’t have to eat everything, but the option is there.

The “One-Bite” rule. Encouraging them to try new foods is necessary since kids aren’t inclined on their own. Before saying they don’t like something, my kids need to try a bite (and they aren’t allowed to throw it off their plate!). Usually, one realizes it is good and the other stands their ground. C’est la vie, we move on.

Make good food. Never underestimate a bad apple. Or tomato. Sometimes my kids take two bites of something they usually enjoy and stop there. When I taste it, I realize it is yucky. Kids don’t want to eat food that has bad texture and color any more than we do.
[/twocol_one_last]
[divider_flat]
And that’s it. Take heart and have faith. And reach out, if you need. I randomly wrote to the author of Foodlets.com when newborn + small kids + Minnesota winter + husband with late hours hit me over the head like a cast-iron pan. She gave me the encouragement I really needed that day… and some good kid-friendly recipes, to boot.
[divider_flat]

*No offense to the fathers out there. You men-who-cook-dinner are awesome, and no doubt have also suffered mental fatigue from cooking with small children.

[fblike][fbshare][twitter][twitter_follow username=”eatgoodathome”]
Posted on

The Golden Egg

I’ve got a new obsession, and it is perfecting the soft-cooked egg. Recipes with bright, sunny yolks beckon me — noodle bowls, breakfasts, tagines, you name it. Top just about anything with a soft-cooked egg and I’m interested.

They require a knack for timing. Too little time, and you have undercooked whites. Too long, and the yolk hardens. The goal is that magical middle ground: whites that are completely cooked, with a silky yolk that spills out in golden decadence when you break into it.

This is the number one trick I’ve learned: use the timer. A loud one.

I wasn’t raised with soft-cooked eggs. In fact, I only ate scrambled eggs until a couple years ago. I was so picky as a kid that I would only eat scrambled eggs prepared by my Tata or Baba! (Much to the irritation of every other adult who ever served me eggs.) But that’s another story.

I’ve since discovered that different soft-cooked eggs serve different purposes. Soft-boiled eggs are beautiful when presentation matters, though peeling them can be a little tricky. When the goal is to smash the egg into the rest of the dish, a poached egg is often the better bet. Soft-baked eggs are forgiving when you need a little extra time to get everything else ready. And sunny-side up? That’s what I want when there’s toast on the plate waiting to be dipped.

Fresh eggs matter, too. Really, nothing beats a farm-fresh egg. I love opening a carton and seeing different colors from different breeds of chickens. Fresh eggs tend to have firmer whites, and there’s something especially wonderful about that bright yolk. Eggs are one food where I’ll gladly spend a little more to support hens that are well cared for.

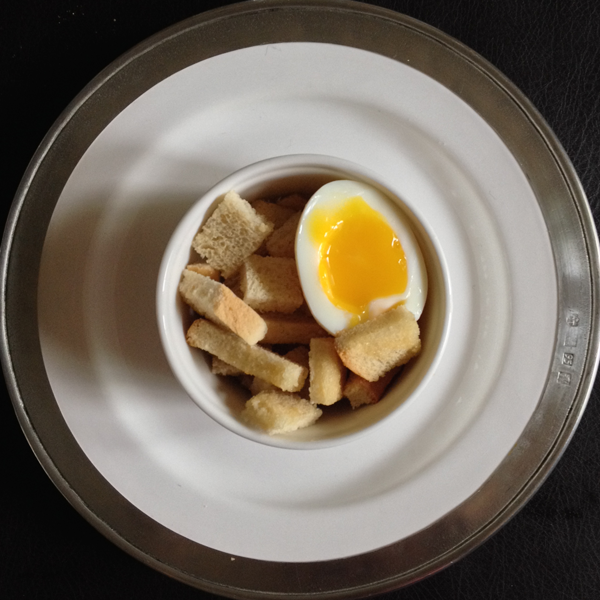
Soft-boiled egg with a runny yolk

Soft-Boiled Eggs

Goal: Perfectly shaped egg, runny yolk

Bring a pot of water to a rolling boil. Have a bowl of ice water ready to go.

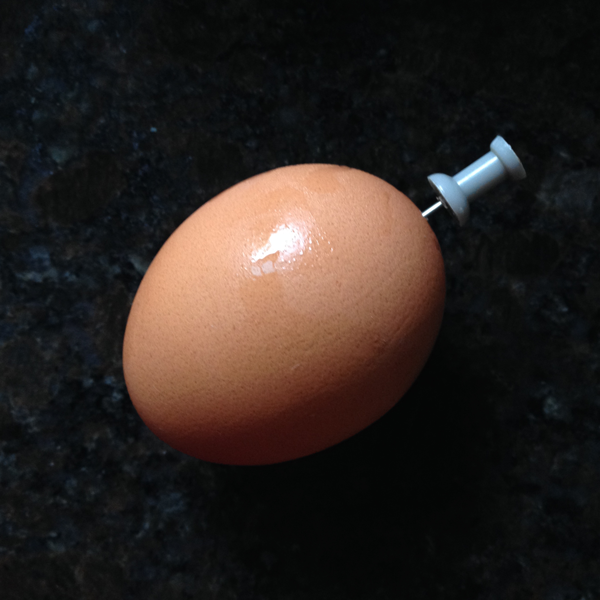
Thumbtack piercing the wide end of an egg

For a rounder finished egg

The air pocket at the wide end of an egg can leave a flat spot after cooking. I prick a tiny hole in the wide end with a clean thumbtack before lowering the egg into the water. This gives the expanding air an escape route, helping the cooked egg fill out into a smoother, rounder shape.

Note: The American Egg Board recommends against piercing eggs before cooking because a nonsterile pin can introduce bacteria and piercing can create tiny cracks in the shell.

Using a pasta scoop or ladle, gently lower the egg into the boiling water. Boil for exactly 6 minutes, then remove it from the pot and place it in the ice bath for about a minute.

Begin tapping the egg gently on the top or bottom first. If you start on the side, the delicate egg can break in half. Continue tapping all the way around until the shell is fragmented into tiny pieces, then peel gently.

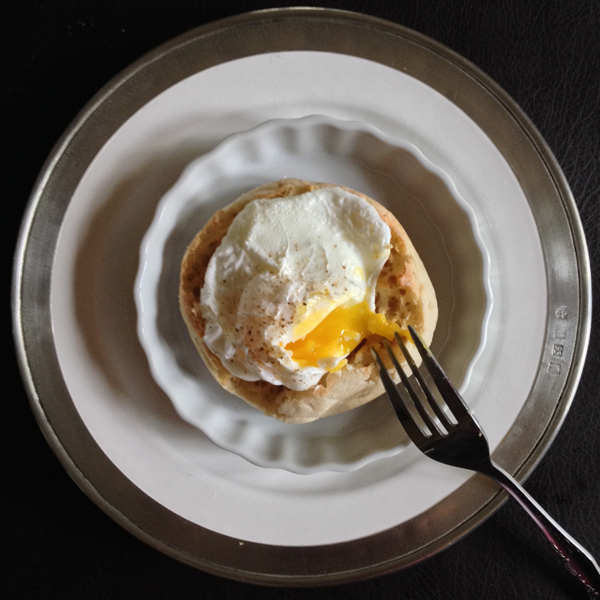
Poached egg with a runny yolk

Poached Eggs

Goal: Smooth, coagulated whites, runny yolk

Poached eggs are great when the egg doesn’t need to look absolutely perfect — especially when it’s going under a sauce or getting smashed into the rest of the dish.

Fill a wide nonstick pan with about 1½ inches of water and add 2 teaspoons of white vinegar. Bring the water to a gentle simmer. Crack each egg into a small bowl.

Carefully lower each egg into the water, keeping the white as close to the yolk as possible. Simmer for about 5 minutes, then remove with a slotted spoon. Trim away any wispy whites if you’d like a prettier finished egg.

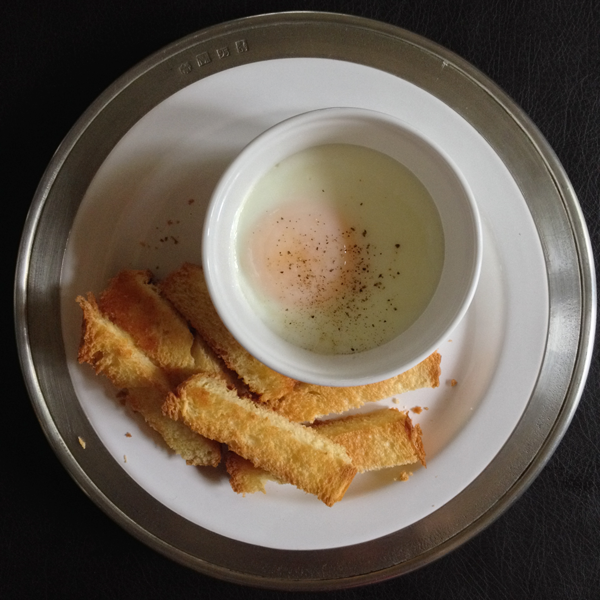
Soft-baked egg with toast

Soft-Baked Eggs

Goal: Whites set, runny yolk

Preheat the oven or toaster oven to 375°F. If you’re baking the eggs by themselves, butter individual ramekins and set them on a baking sheet.

You can also bake the ramekins in a water bath by placing them in a larger baking dish partially filled with hot water. Be careful not to let water splash into the ramekins.

If you’re baking the eggs directly into another prepared dish, make little wells for them to settle into. Crack in the eggs and bake for 12–15 minutes. Keep a close eye on them near the end — the perfect window between set white and runny yolk is a small one.

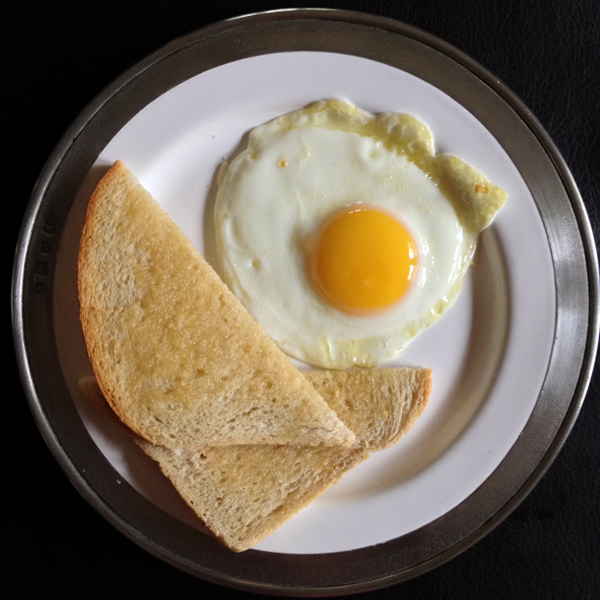
Sunny-side up egg with toast

Sunny-Side Up Eggs

Goal: Whites set, no browned edges, runny yolk

Heat a thin layer of oil in a nonstick pan over medium heat. We’re going for a slow cook, so don’t let the pan or oil get smoking hot.

Add the eggs with enough room that they don’t run into each other. Begin spooning a little hot oil over the whites only. After a minute or two, when the whites are no longer clear or jiggly, spoon a little oil over the yolks just to set the surface.

Slide the eggs from the pan onto a paper towel, then transfer them to the plate with a spatula.

NOW, WHAT’S FOR DINNER?

Put a good egg on something delicious.

Homegrown Foods delivers fresh, locally sourced meal kits from our Minneapolis kitchen straight to your door. See what’s cooking over the next few weeks.


What’s on the Menu